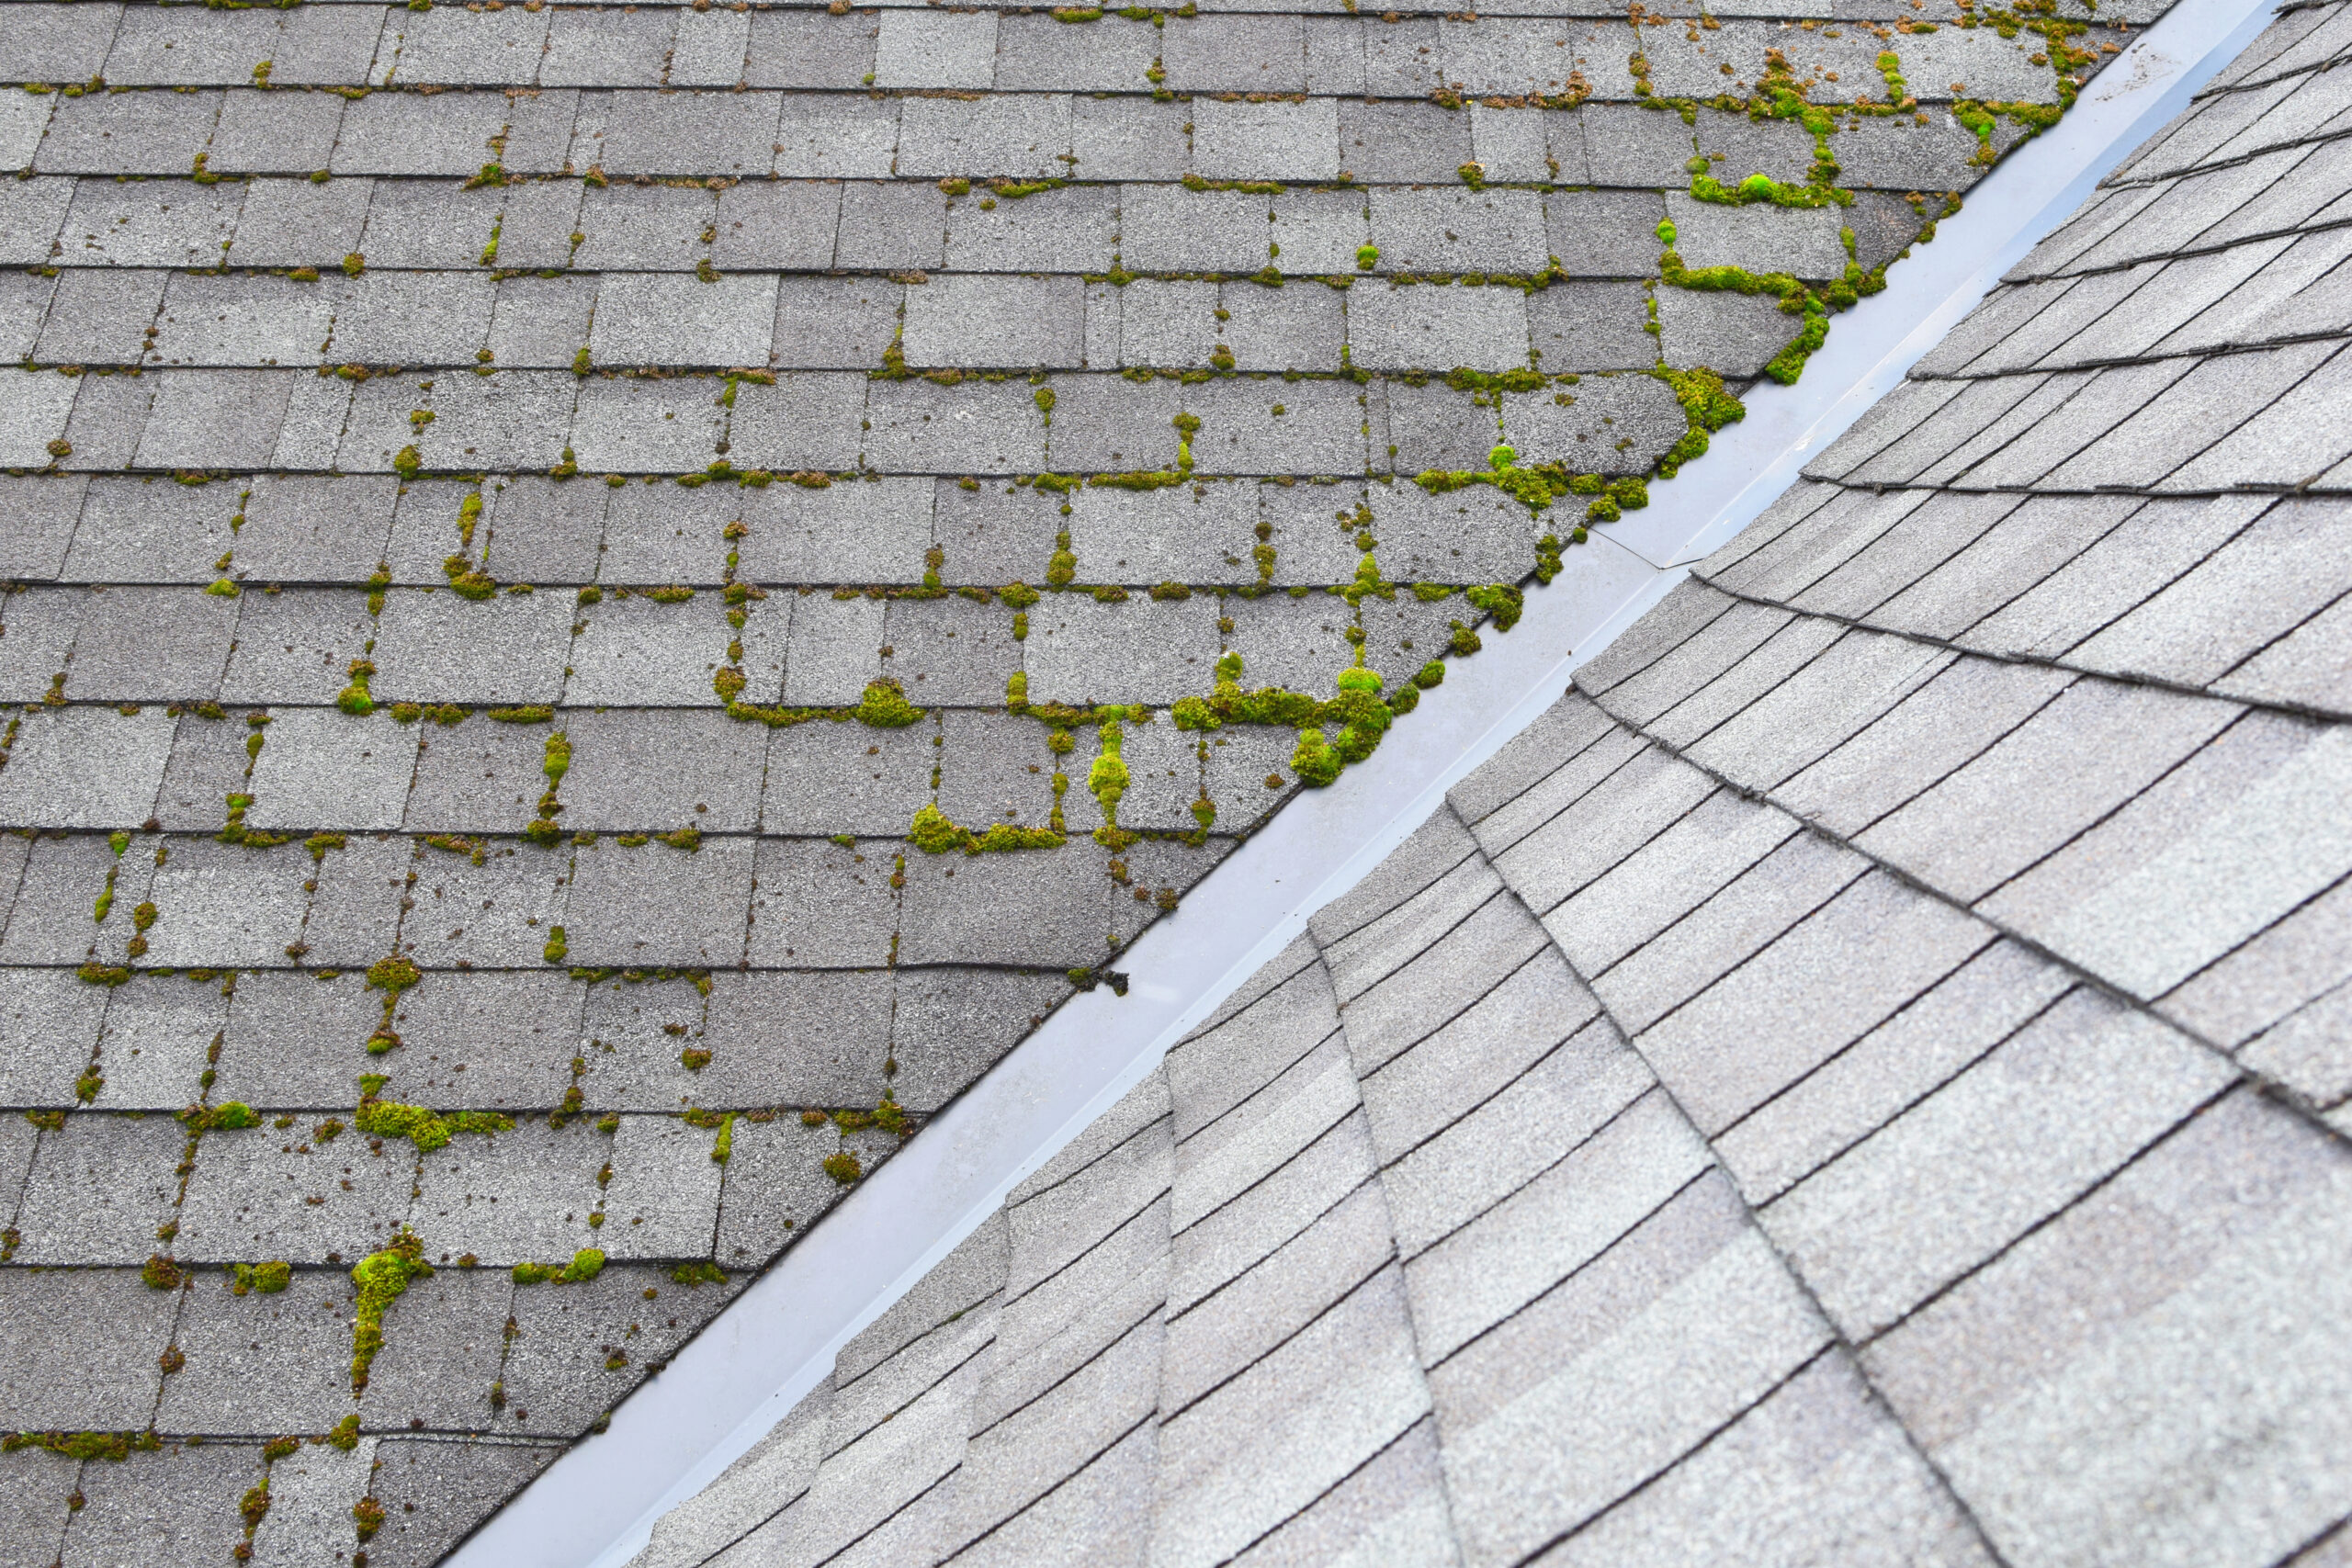
Notice fuzzy green patches on your roof? That’s moss — and in Florida’s hot, rainy climate, it grows fast. While it might seem harmless at first, moss traps moisture, weakens your shingles, and can quietly lead to costly roof damage.
The good news? With the right tools and a few smart steps, you can remove moss safely and keep it from coming back.
Let’s walk through exactly how to do it — and when it’s smart to call in a pro.
Key Takeaways
- A clean roof starts with brushing moss lightly, applying treatment, and rinsing carefully using low-pressure water.
- A safe moss removal project needs dry weather, the right safety gear, and gentle cleaning methods without pressure washers.
- Good moss prevention means trimming trees, cleaning gutters often, installing zinc strips, and checking your roof once a year.
- A professional inspection protects Florida homes by spotting early moss damage and hidden roof problems.
DIY Moss Removal – What Homeowners Can Do
If your roof has only light moss buildup, you may be able to clean it yourself, but be cautious. Roof work can be risky, and using the wrong tools or techniques might do more harm than good.
Here’s how to remove moss step by step, the safe and smart way.
Step 1: Pick a Dry Day and Gear Up
Choose a dry, mild day to do the work. Wet or humid conditions make roofs slippery and can make moss harder to remove. It’s also smart to have a buddy around for safety, especially if you’ll be climbing up on a ladder.
Before you start, gather everything you’ll need:
- Non-slip shoes
- Work gloves
- A safety harness (for steeper roofs)
- A soft-bristle brush or broom
- A garden sprayer or pump sprayer
- A low-pressure garden hose
- A moss treatment solution (store-bought or DIY)
Step 2: Gently Brush the Moss Away
Start by using a soft-bristle brush to lightly loosen the moss. Always brush downward, following the flow of your shingles. Avoid scrubbing too hard because shingles are designed to protect your home, but they can be surprisingly delicate. Forcing or scraping the moss can tear the shingle surface and cause bigger problems later.
If you run into moss that won’t budge, don’t worry. That’s where the cleaning solution comes in.
Step 3: Apply a Moss Treatment
You can use a store-bought moss remover or mix your own solution with equal parts bleach and water. Load it into a garden sprayer and apply it directly onto the mossy patches. Let it soak in for 15 to 20 minutes.
This step helps kill the moss at the root. You may notice the moss changing color, which is a good sign that the solution is working.
Be mindful of where the runoff goes. Try to protect the landscaping below by covering nearby plants with a tarp or rinsing them down with clean water before and after spraying.
Step 4: Rinse the Roof Gently
Once the moss has had time to soak, it’s time to rinse. Use a low-pressure garden hose and work from the top of the roof down. Never spray upward under the shingles, as this can force water into places it doesn’t belong.
And remember: Never use a pressure washer. High-pressure water can blast away the protective granules from your shingles, leading to leaks and premature aging.
A Final Word of Caution
Never scrape or yank moss off. You might damage the shingles underneath.
If any moss remains after your first cleaning, don’t panic. Dead moss will often dry out and fall off naturally over the next few weeks.
If you’re not comfortable getting up on the roof, or if the moss has spread across a large area, it’s always better and safer to call in a professional.
How to Keep Moss from Coming Back
After removing moss, the key is keeping it from coming back. Florida’s humidity and frequent rain mean roofs are always vulnerable, but a few smart habits can make a big difference.
First, it’s important to limit the moisture and shade that help moss thrive. Keeping your roof clean and dry helps protect it in the long term.
Here’s what you can do:
- Trim overhanging branches — Sunlight naturally dries out your roof and discourages moss growth.
- Clean your gutters regularly — Clogged gutters trap water along the roofline, creating damp areas where moss loves to grow.
- Install zinc or copper strips — These metal strips release small amounts of moss-fighting minerals when it rains, offering long-term protection.
- Schedule an annual roof inspection — In places like Tallahassee and Tampa, late summer storms often leave behind hidden roof damage. Even small cracks or loose shingles can trap moisture and give moss a new place to grow.
Protect Your Roof with Help from Tadlock Roofing
Taking care of your roof yourself can go a long way, but when it comes to protecting your home for the long haul, nothing beats a professional’s eye. A routine inspection can catch early signs of moss growth, hidden moisture damage, or loose shingles long before they turn into costly repairs.
At Tadlock Roofing, we’ve been helping Florida homeowners keep their roofs strong and beautiful for decades. From moss prevention to storm damage inspections, we’re proud to serve communities across Tallahassee, Tampa, Pensacola, and Sarasota.If you’re ready to give your roof the care it deserves, we’re here to help. Call us at (855) 964-7663 or get your free estimate online today.